The Secret to Chewy Soft Pretzels: Baking Soda Bath Explained
There's nothing quite like biting into a perfectly crafted soft pretzel: that unmistakable chewy exterior, the tender, fluffy interior, and a distinctive flavor profile that sets it apart from any ordinary bread. For many, the idea of replicating this culinary delight at home seems daunting, often resulting in delicious breadsticks rather than authentic pretzels. The good news? The secret to unlocking that iconic pretzel magic isn't a mystical incantation but a simple, yet crucial, step known as the baking soda bath. If you've ever wondered how to make soft pretzels that rival your favorite bakery or food stand, this comprehensive guide will demystify the process and elevate your pretzel-making game.
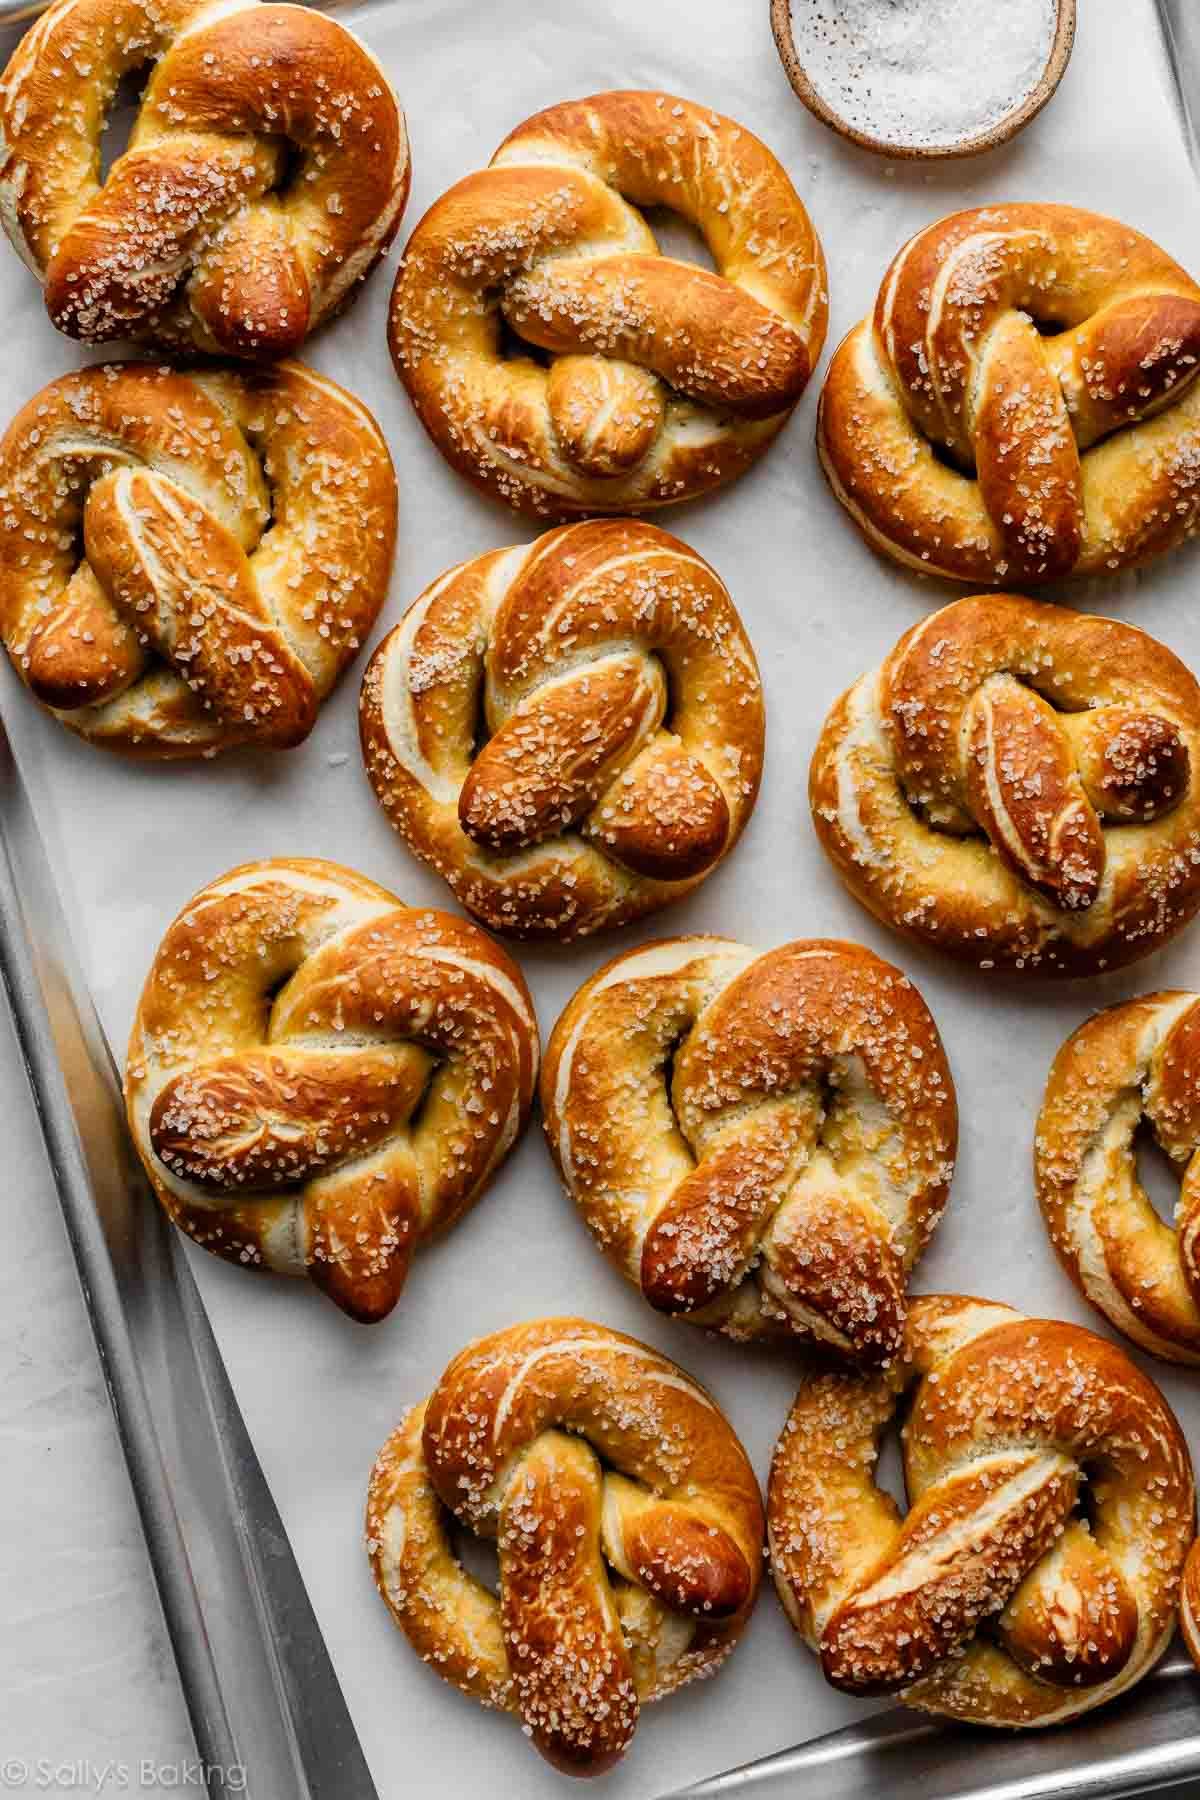
Homemade soft pretzels offer an unparalleled satisfaction. They're not just a snack; they're an experience. Imagine pulling a batch of warm, golden-brown pretzels from your oven, their aroma filling your kitchen, ready to be dipped in a rich beer cheese sauce or dusted with sweet cinnamon sugar. The journey to these perfect pretzels begins with understanding the pivotal role of the baking soda bath—the unsung hero that transforms humble dough into a chewy, flavorful masterpiece.
The Science Behind the Magic: Why the Baking Soda Bath is Essential
At its core, a soft pretzel is a unique culinary creation due, in large part, to a chemical reaction initiated by the baking soda bath. This isn't just a quick dip; it's the moment your pretzel dough undergoes a fundamental transformation that gives it its signature taste, texture, and color.
What is Baking Soda? Baking soda, or sodium bicarbonate, is a leavening agent often used in baking. However, in the context of pretzels, it serves a different purpose entirely. When dissolved in boiling water, it creates an alkaline solution. This alkaline environment is key to developing the pretzel's distinct characteristics.
- The Maillard Reaction Accelerator: The primary scientific reason for the baking soda bath's effectiveness lies in its ability to significantly enhance the Maillard reaction. This is the chemical reaction between amino acids and reducing sugars that gives browned food its distinctive flavor. An alkaline environment dramatically speeds up this process, leading to that deep golden-brown crust and complex, savory flavor that we associate with pretzels. Without it, your pretzels would bake up pale and taste more like a plain bread roll.
- Texture Transformation: The hot, alkaline bath also causes the starch on the surface of the pretzel dough to gelatinize. This gelatinized layer, when baked at high temperatures, sets into a firm, chewy crust. This contrasts beautifully with the soft, airy interior of the pretzel, creating that sought-after perfect texture balance. It prevents the pretzel from merely tasting like a "buttery, salted breadstick" and instead provides that unmistakable chew.
- Color Development: Beyond flavor and texture, the baking soda bath is responsible for the rich, burnished golden-brown hue of a classic pretzel. The accelerated Maillard reaction ensures a gorgeous, appetizing crust that conventional baking alone cannot achieve.
While traditional German pretzels often use a lye (sodium hydroxide) bath for an even more intense flavor and darker crust, lye is highly caustic and dangerous for home use. The baking soda bath is a safe, effective, and readily available alternative that achieves incredibly similar results, making authentic homemade pretzels accessible to everyone.
Mastering the Baking Soda Bath: Your Step-by-Step Guide
Understanding the science is one thing; executing the bath correctly is another. This critical step, while simple, requires attention to detail to ensure your pretzels turn out perfectly every time.
- Prepare Your Station: Before you even start boiling water, ensure your pretzel dough is shaped and ready, resting on parchment-lined baking sheets. Have a large, heavy-bottomed pot filled with water, a slotted spoon or spider for safely transferring pretzels, and an extra parchment-lined baking sheet ready for the bathed pretzels.
- Boil the Water: Unlike the warm water used to activate yeast, the water for your baking soda bath must be at a full, rolling boil. This high temperature is crucial for the chemical reactions to occur effectively.
- Add the Baking Soda: Carefully add the baking soda to the boiling water. Be mindful as it can cause the water to foam up significantly. A good general ratio is 1/2 cup of baking soda for every 8-10 cups of water. Stir gently to dissolve.
- The Dip – Quick & Brief: This is arguably the most crucial part. Gently drop one pretzel at a time into the boiling baking soda solution using your slotted spoon. Do not overcrowd the pot. Allow each pretzel to bathe for approximately 20-30 seconds per side, or 45-60 seconds total. You might see the pretzel puff up slightly. Using the slotted spoon, carefully flip it halfway through.
- Drain Thoroughly: After its brief swim, lift the pretzel out of the bath with the slotted spoon, allowing any excess water to drip off. Transfer it immediately to your prepared parchment-lined baking sheet. The surface will be slightly slimy—this is normal.
- Repeat and Season: Continue with the remaining pretzels, ensuring they are adequately spaced on the baking sheet. Once all pretzels have been bathed and placed on the sheet, this is the ideal time to sprinkle them generously with coarse sea salt. The wet surface from the bath will help the salt adhere perfectly.
- Safety First: Always exercise caution when working with boiling water. Use oven mitts, keep children away, and prevent splashing.
Resist the urge to leave the pretzels in the bath for too long. Over-bathing can lead to a metallic taste, an overly tough crust, or even cause the pretzels to disintegrate, yielding a soggy, unappetizing result.
Beyond the Bath: Crafting the Perfect Soft Pretzel Dough
While the baking soda bath is the star, a great pretzel also relies on a well-made dough. Understanding the ingredients and their roles is vital for a truly superior homemade soft pretzel.
- Active Dry Yeast & Warm Water: The foundation of any good yeasted dough. Ensure your water is between 105°-115°F (40°-46°C) to properly activate the yeast. A pinch of sugar helps feed the yeast, leading to a frothy mixture that indicates your yeast is active and ready to work.
- All-Purpose Flour: The backbone of the dough. Accurate measurement is paramount. Too much flour will result in dry, crumbly dough and tough pretzels, while too little will yield a sticky, unmanageable mess. Use the "spoon and level" method for best results.
- Butter: Melted butter incorporated into the dough adds richness, flavor, and contributes to the pretzels' tender interior. Unsalted butter is usually preferred, giving you control over the overall saltiness, especially since coarse salt will be added later.
- Fine Sea or Kosher Salt: Balances the flavors within the dough itself. Don't confuse this with the coarse salt sprinkled on top; both play distinct roles.
Mixing and Kneading: Developing the gluten in the dough through proper mixing and kneading is essential for achieving the characteristic chewiness. You want a smooth, elastic dough that springs back when poked. Many recipes, including quick versions like those mentioned in Unlock Iconic Flavor: Your Guide to Quick Soft Pretzels, call for a relatively short rise time (sometimes as little as 10-30 minutes). This works because the distinctive pretzel texture largely comes from the bath and high-heat baking, rather than a long fermentation process, making these pretzels surprisingly fast to prepare.
For more detailed instructions on creating the perfect dough and ensuring every ingredient plays its part, you might find additional valuable insights in our article on Easy Homemade Soft Pretzels: Better Than Any Chain.
Shaping, Topping, and Baking for Perfection
With your dough perfectly prepared and your baking soda bath mastered, the final steps bring your soft pretzels to life.
- Shaping the Pretzels: Divide your dough into equal pieces and roll each into a long, thin rope (about 18-24 inches, depending on desired pretzel size). Form the classic pretzel shape: create a "U," cross the ends over each other twice, then bring them down to attach to the bottom of the "U." Don't worry if your first few aren't perfect; practice makes perfect, and they'll taste delicious no matter the shape!
- Topping Combinations:
- Classic Coarse Sea Salt: This is applied immediately after the baking soda bath, while the surface is still wet.
- Melted Butter Brush: After baking, a generous brush of melted salted butter adds incredible flavor and shine.
- Sweet Cinnamon Sugar: Brush with melted butter after baking, then sprinkle generously with a mixture of cinnamon and sugar.
- Savory Garlic & Herb: After baking and brushing with butter, sprinkle with garlic salt and Italian seasoning.
- Cheesy Delights: For a cheese pretzel, sprinkle your desired cheese (Parmesan, Asiago, or a sharp cheddar work wonderfully) directly onto the pretzels *after* the baking soda bath and *before* baking, allowing the cheese to melt and crisp up in the oven.
- Everything But The Bagel: Brush with melted butter after baking and sprinkle with this popular savory blend for a flavorful twist.
- Baking at High Heat: Soft pretzels thrive in a hot oven, typically between 400-450°F (200-230°C). The high heat combined with the effects of the baking soda bath creates that beautiful golden-brown crust and ensures the pretzel bakes through quickly, maintaining its soft interior. Bake until deeply golden, usually 12-15 minutes.
Conclusion
The journey to mastering homemade soft pretzels is incredibly rewarding, and at its heart lies the simple yet powerful technique of the baking soda bath. This "secret ingredient" is what elevates ordinary dough into an extraordinary culinary experience, providing that unmistakable chewy texture, golden hue, and classic pretzel flavor. So, gather your ingredients, follow these steps with confidence, and prepare to impress yourself and your loved ones with perfectly crafted, bakery-quality pretzels. Once you experience the magic of the baking soda bath, you'll wonder why you ever settled for anything less. Happy baking!
